
Shopify Migration: Preserving Customer Stages
This guide is for existing Northbeam customers migrating from a custom order management system using Orders API to Shopify.
It covers one specific task: preserving your historical Customer IDs so Northbeam can continue accurately classifying customers as New or Returning after migration.
This guide does not cover full order or customer data migration into Shopify..
Why this matters
Shopify generates its own unique Customer IDs when customer records are imported. Northbeam relies on consistent Customer IDs to determine whether a customer is New or Returning.
Without this step, every existing customer will appear as a New customer in Northbeam — because Shopify-generated IDs have never been seen before.
To prevent this, you'll store your historical Customer IDs in a Shopify customer metafield, which Northbeam's engineering team will then map to your existing customer records.
Before You Start
Make sure you have:
- Access to your Shopify admin
- A customer export from your previous system with Customer IDs and email addresses intact
- Your Northbeam pixel still active on your storefront
Important: Do not remove the Northbeam pixel until your Shopify integration is fully verified. Running both systems in parallel during the transition prevents gaps in attribution data.
Step 1: Create a Customer Metafield in Shopify
Do this before starting your migration.
-
Login to your Shopify store at shopify.com if you haven't already
-
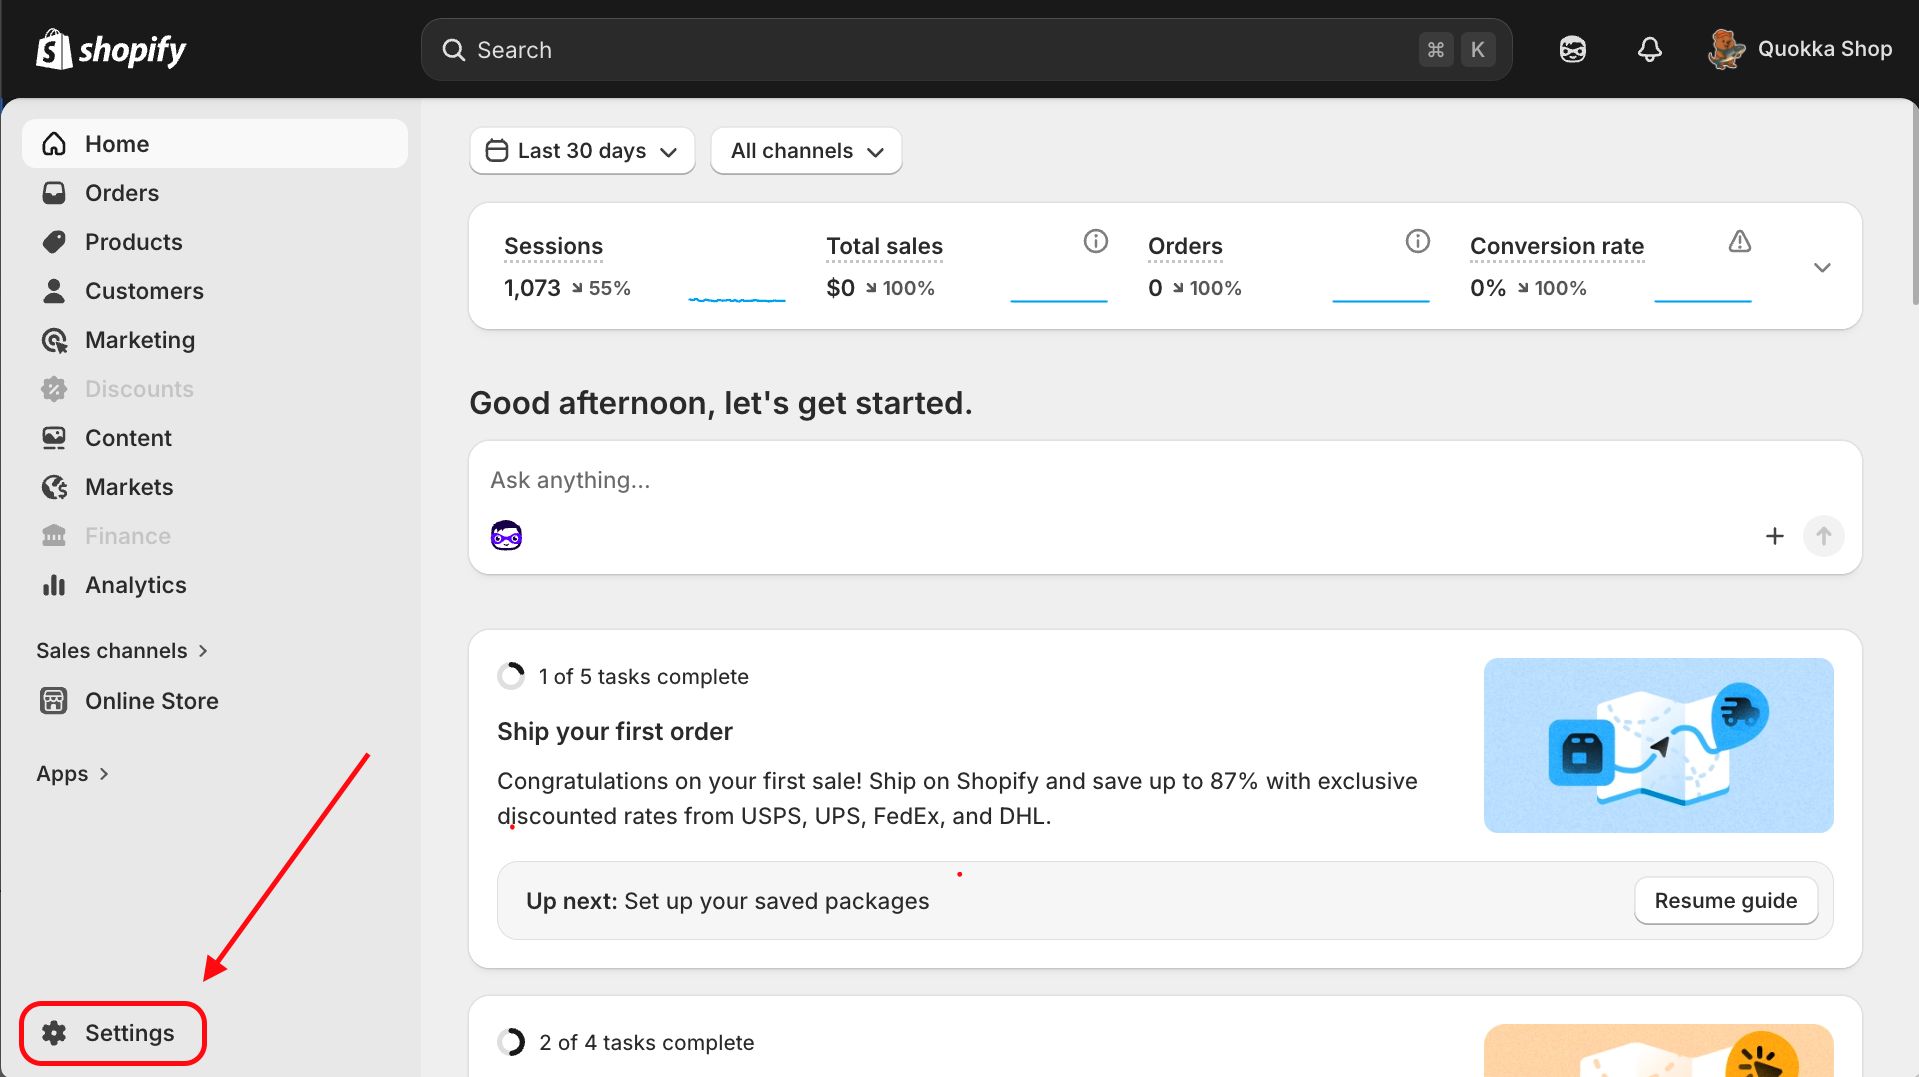
Click on Settings — find this in your Shopify homepage on the bottom left corner
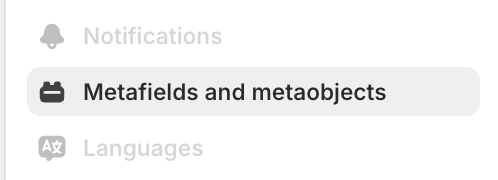
Metafields and metaobjects should be on the left in your settings menu
-
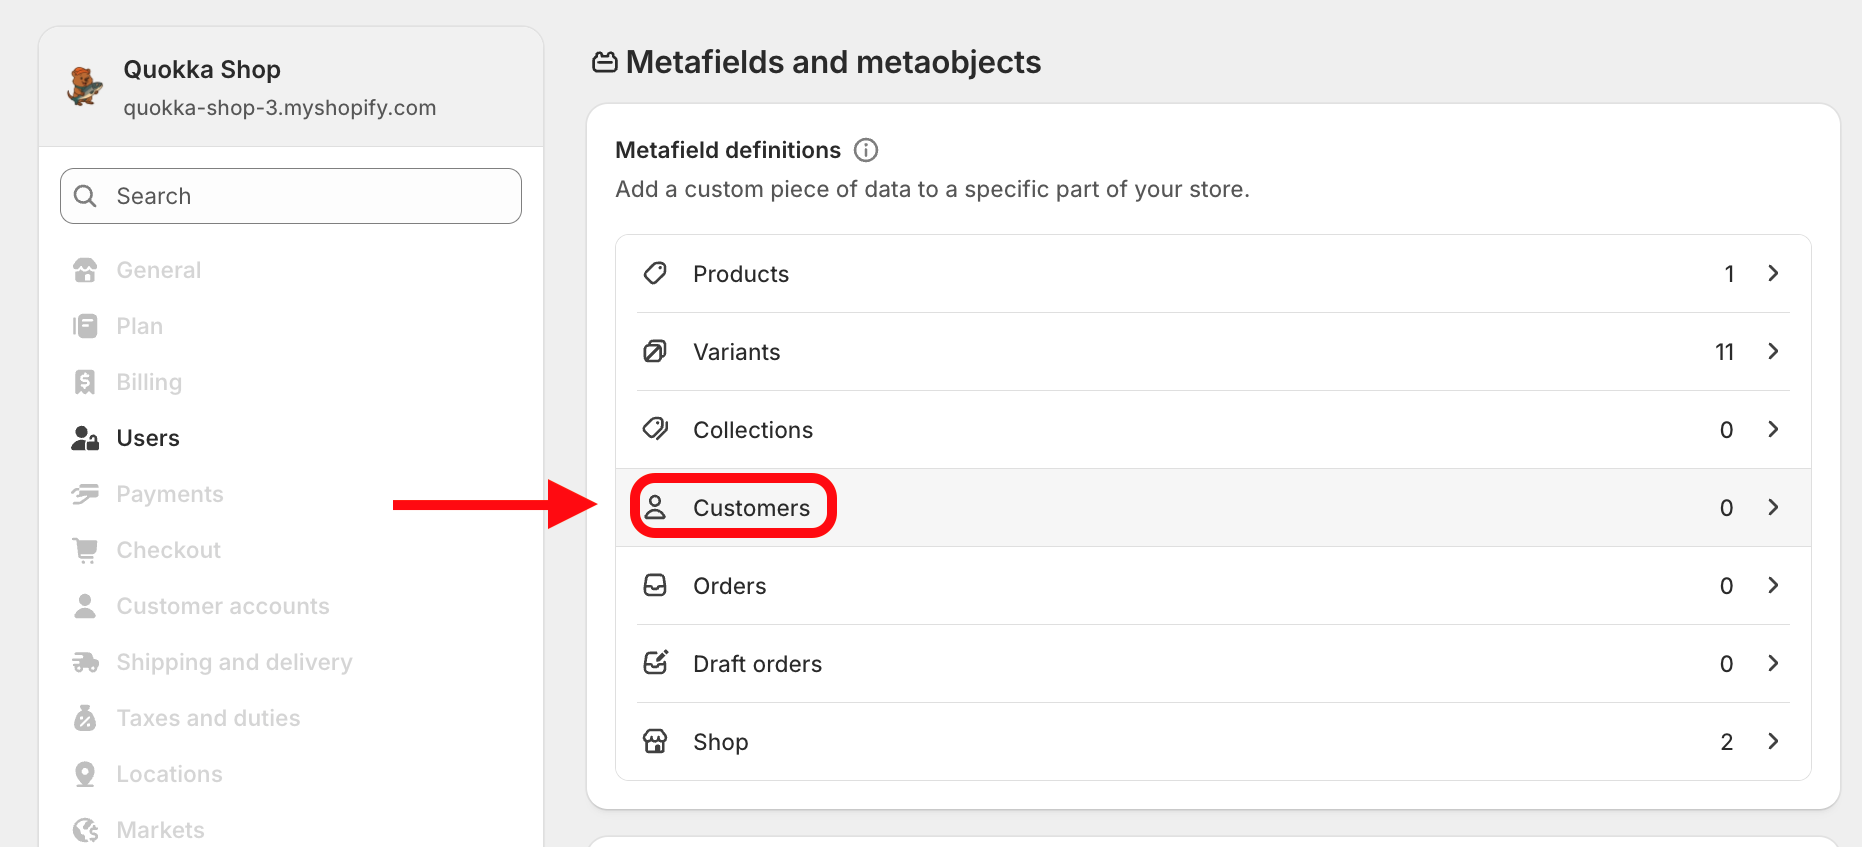
Click on Customers
-
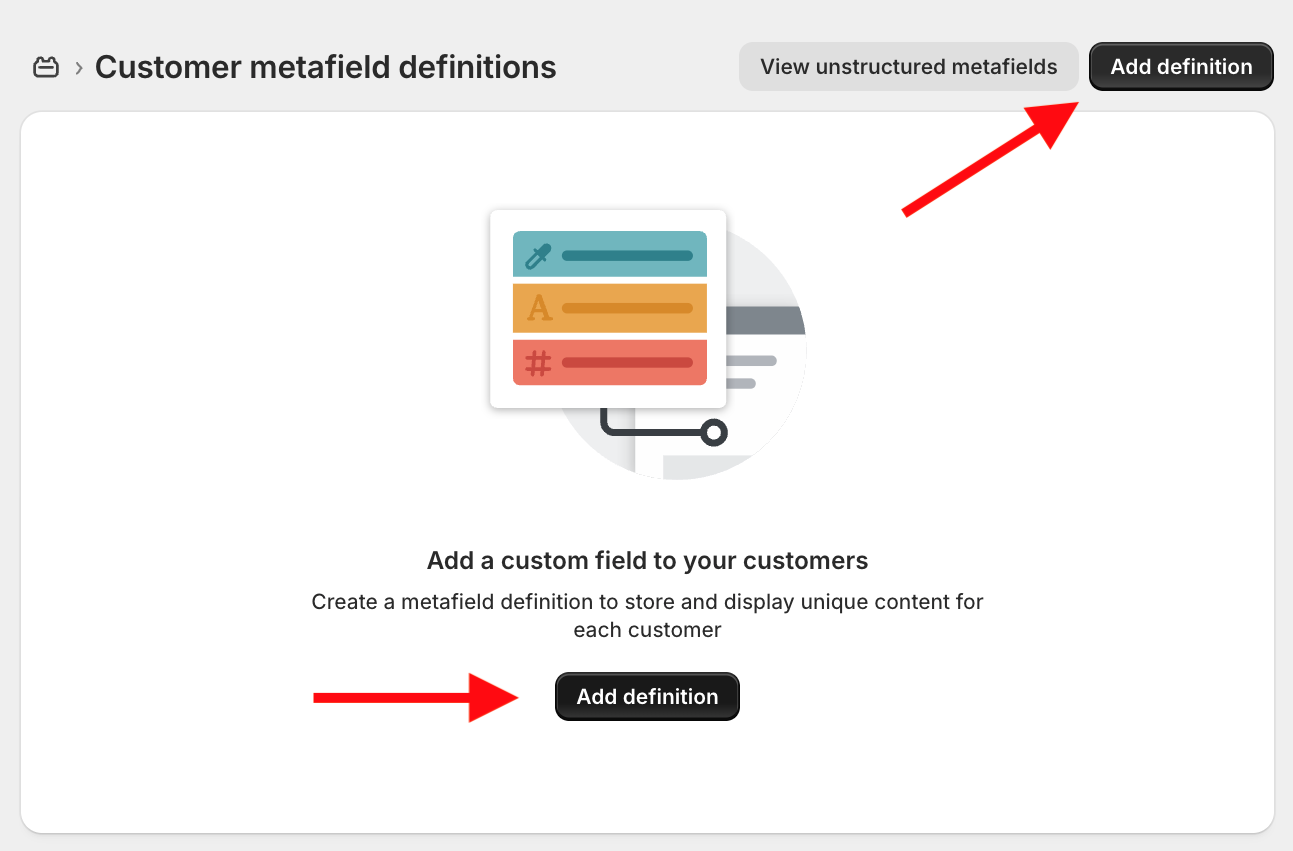
Click Add definition If you haven't added one before, this button will be center-stage!
-
Customer Metafield Details
- Name:
legacy_customer_id— note this name exactly, you'll need it later. - Type: Single line text
- Validation: minimum of 1 and max of 256
- Name:
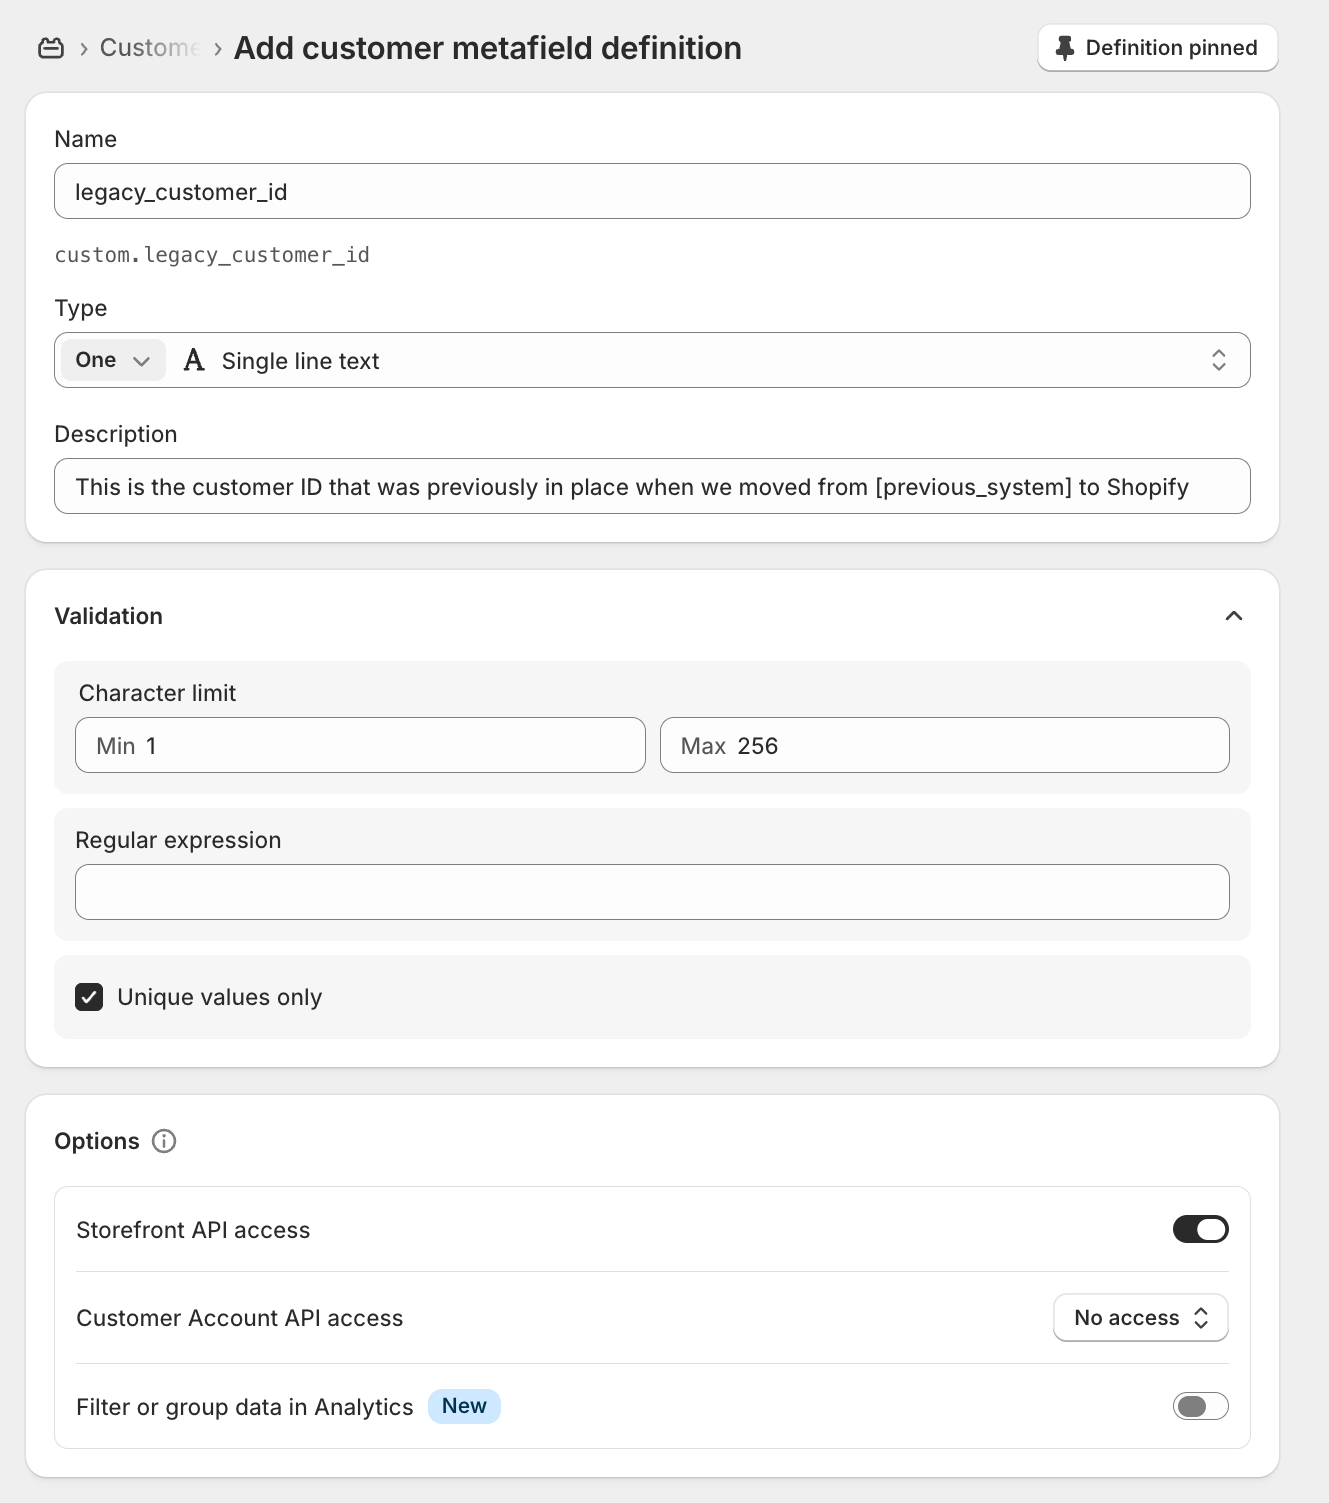
- Click Save
The metafield namespace will default to custom, making the full field key customer.metafields.custom.legacy_customer_id
This is the column header you'll use in your CSV import.
Step 2: Export customer data from your current system
Before disconnecting your old system, export your customer list. At minimum, your export must include:
- Customer ID (from your legacy system)
- Email address
Store this export securely — you'll use it to populate the import file in Step 3 and to verify your data in Step 4.
Do not remove the Northbeam pixel from your website until your Shopify integration is fully verified. Running both in parallel during the transition prevents gaps in attribution data.
Step 3: Format Your Customer List for Shopify
Use the Northbam Shopify Import Template to format your data
The most common formatting mistake is getting the metafield column name wrong. It must be exactly:
customer.metafields.custom.legacy_customer_id
Step 4: Import your Customers into Shopify
Proceed to your Customers page in Shopify.
- In the top left corner, click Import:

-
Import your CSV files!
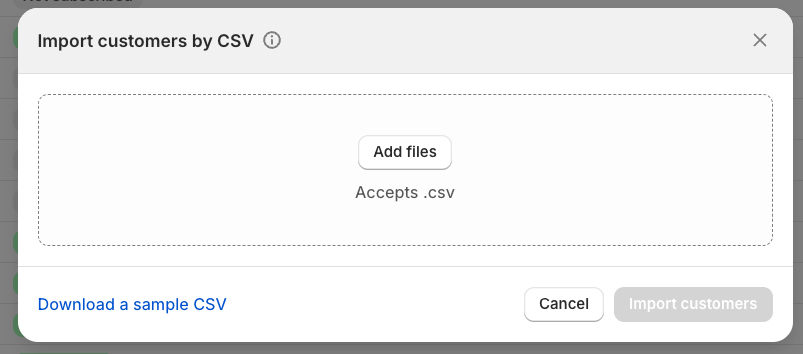
We recommend following the following template for guidance -- as the template that Shopify provides does not account for Customer metafields
Step 5: Notify your CSM at Northbeam
Once your data has been uploaded, inform your CSM at Northbeam along with the name of your legacy customer_id field. Once we have this, the Northbeam engineering Team can map your old Customer IDs into your dashboard, preserving customer stages.
Updated about 2 months ago