
Tracking for Rakuten
This guide will show you how to connect your Rakuten account and pull the following metrics:
- Spend and Impressions, which enables our view-through modeling data
Step 1: Inserting Click UTMs
There are a few NB UTMs that need to be added in your Link Parameters menu
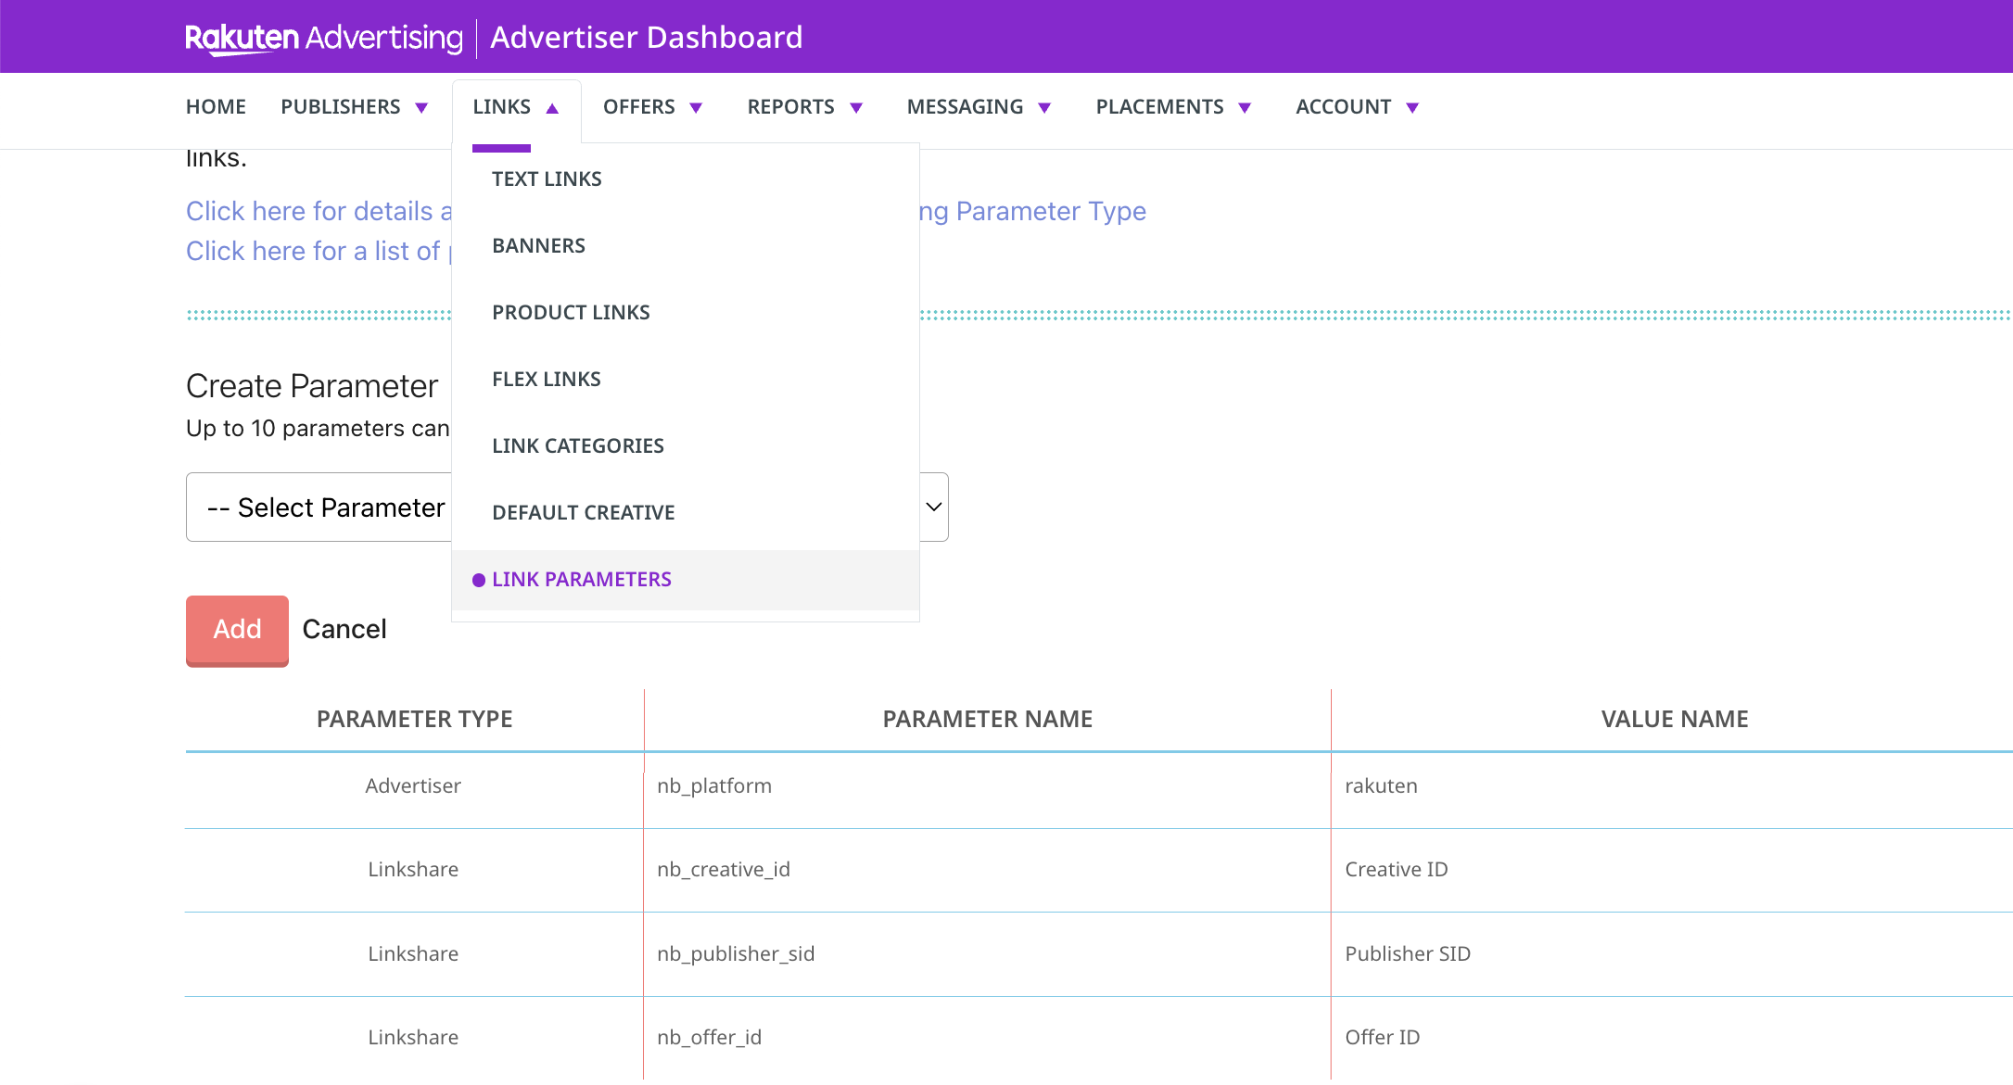
- Navigate to your Rakuten Advertising Dashboard
- In the header, click Links
- Click Link Parameters
- Add the following 4 parameters:
| Parameter Type | Parameter Name | Parameter Value | Mapping in Northbeam |
|---|---|---|---|
| Advertiser | nb_platform | rakuten | Categorizes traffic under "Rakuten" channel |
| Linkshare | nb_offer_id | Offer ID (selected from Linkshare dropdown) | Pulls Campaign Names into the Campaign Level of the Sales Page |
| Linkshare | nb_publisher_sid | Publisher SID (selected from Linkshare dropdown) | Pulls Publisher Names into the Adset Level of the Sales Page |
| Linkshare | nb_creative_id | Creative ID (selected from Linkshare dropdown) | Pulls Ad Names into the Adset Level of the Sales Page |
Step 2: Set Up Scheduled Reports
You’ll need to create two scheduled reports to ensure full coverage:
- One for This Month named
nb_reporting_tm - One for Last Month named
nb_reporting_lm
Important: Report Currency Must Be in USDNorthbeam assumes all Rakuten data is in USD. If your dashboard is in another currency, Northbeam will convert spend using the daily exchange rate — but if your Rakuten reports are not in USD, the conversion will be wrong.
If your Rakuten account is not in USD, please to contact Rakuten support to change the report output currency.
Before proceeding, locate the unique email address where the report should be sent by visiting the Connections page in your Northbeam dashboard.
- Log in to Northbeam
- Navigate to Settings > Connections
- Scroll to Rakuten
- Copy the Email Address
- Format:
[your_client_id][email protected]
- Format:
Report 1: "This Month" Report (nb_reporting_tm)
nb_reporting_tm)- Navigate to your Rakuten Advertising Dashboard
- In the header, click Reports > Reporting > Create New Report
- Add the following fields and metrics:
 # of clicks
 # of impressions
 Offer ID
 Offer Name
 Publisher ID
 Publisher Name
 Publisher Encrypted ID
 Total Commission
 Transaction Date
 Publisher Group ID
 Publisher Group ID Name
 Link ID
Link Name- Click Save Report and name it
nb_reporting_tm - Click Manage Report > Schedule Report
- Adjust the following fields:
- Date Range: This Month
- Time Zone: (GMT+00:00) GMT
- Date Type: Transaction Date
- Uncheck "Include Summary"
- Schedule Time:
- Daily
- Set the hour to anything between 10AM and 6PM
- Check "Deliver report to Email"
- Insert the Email Address from the previous step
- Click Set Scheduling
Report 2: "Last Month" Report (nb_reporting_lm)
nb_reporting_lm)Repeat the same steps above, but with the following adjustments:
- Report Name:
nb_reporting_lm - Date Range: Last Month
All other settings remain the same.
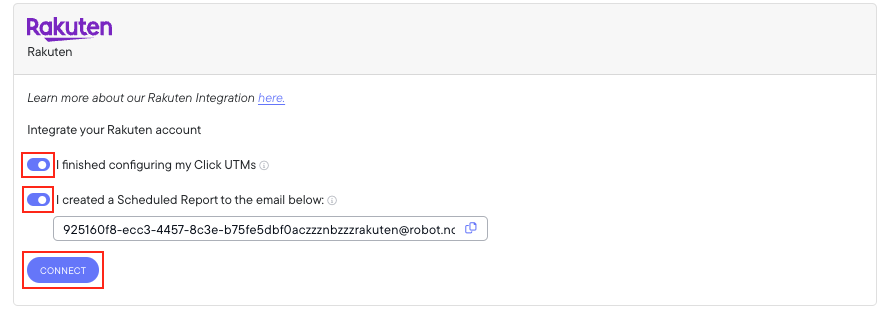
Step 3: Enable Rakuten Integration
- Navigate to the Connections menu in Northbeam:
- Go to Settings
- Select Connections
- Scroll down to locate Rakuten
- In the Connections menu, check the boxes to confirm that the following have been set up:
- Click UTMs
- Scheduled Report
- Click Connect
Updated 4 months ago