Shopify Flow + Orders API
Using Shopify Flow to trigger the Orders API
When to use Shopify Flow + Orders API
If Shopify is your source of truth for revenue data, our default recommendation is to use the Northbeam Shopify App to automatically sync Shopify orders data with Northbeam.
If you intend to implement a multi-dashboard configuration in Northbeam using data from a single Shopify instance, you may need to apply logic to conditionally send orders to different Northbeam instances. This guide describes how to send Shopify orders to Northbeam using our Orders API via Shopify Flow.
How to build a Shopify Flow for Northbeam Orders
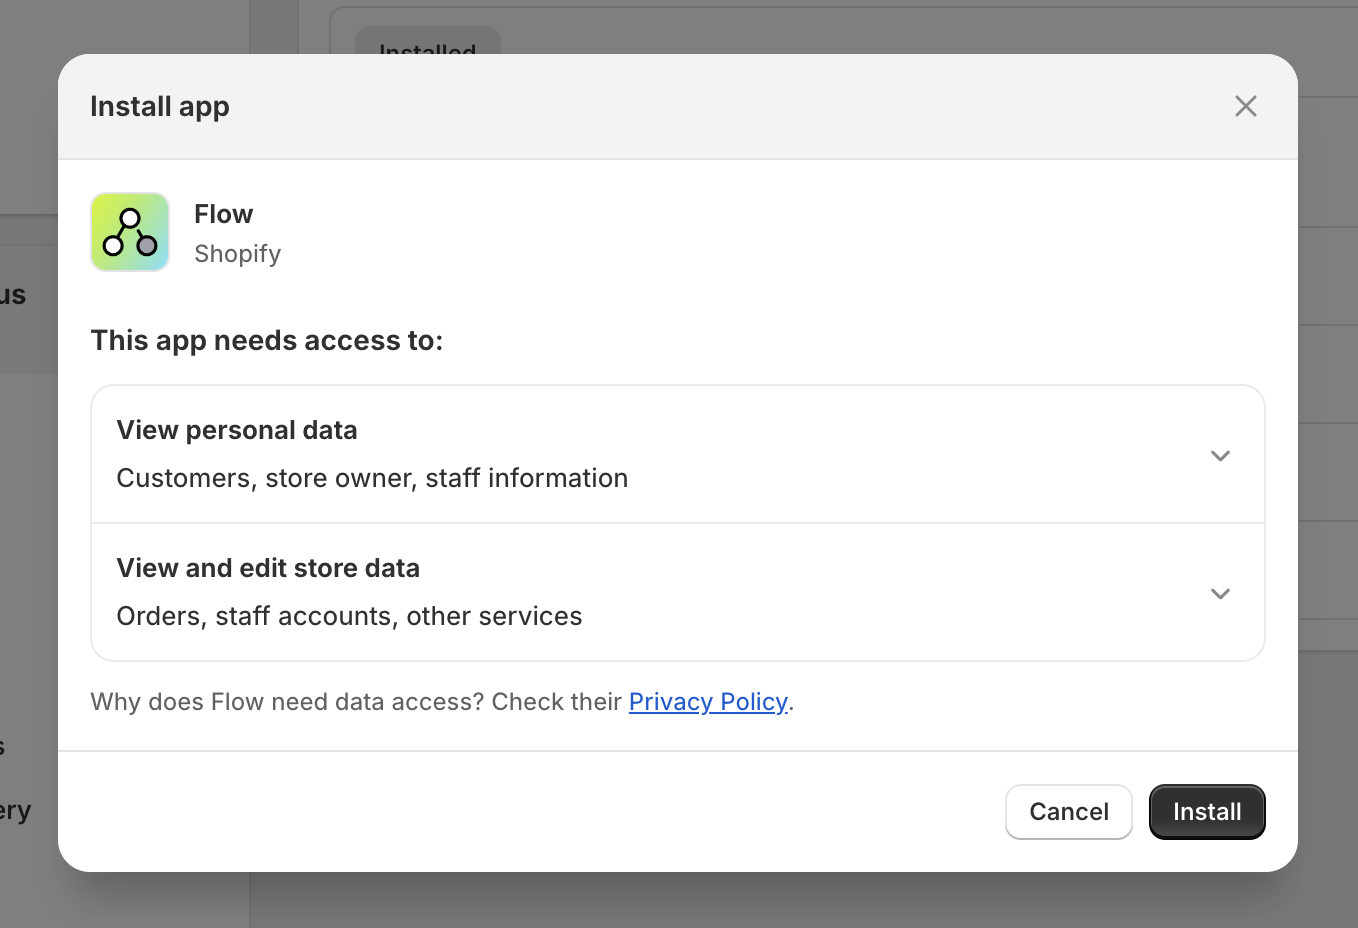
- Install the Shopify Flow app in your Shopify Account.
- Click Create Flow
- Choose Select a Trigger
- Trigger on the Order created event
- On the Order created event, click Then (+) to add a next step
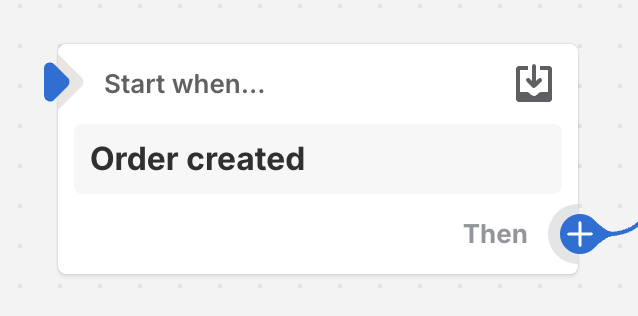
- Add Send HTTP request as the next step

- Configure the request
- HTTP method:
POST - URL:
https://api.northbeam.io/v2/orders - Headers:
- Authorization: (your API key)
- Data-Client-ID: (your Data-Client-ID)
- Content-Type:
application/json
- body:
- HTTP method:
[
  {
    "products": [
      {% for lineItems_item in order.lineItems %}
        {
          "id": "{{lineItems_item.id | remove: 'gid://shopify/LineItem/'}}",
          "name": "{{lineItems_item.name | replace: '"', '' }}",
          "quantity": {{lineItems_item.quantity}},
          "price": {{lineItems_item.originalTotalSet.shopMoney.amount}}
        }{% unless forloop.last %},{% endunless %}
      {% endfor %}
    ],
    "order_id": "{{order.id | remove: 'gid://shopify/Order/'}}",
    "customer_id": "{% if order.customer.id == '' %}{{order.customer.email}}{% else %}{{order.customer.id | remove: 'gid://shopify/Customer/'}}{% endif %}",
    "time_of_purchase": "{{order.createdAt}}",
    "tax": {{order.totalTaxSet.shopMoney.amount}},
    "currency": "{{order.currencyCode}}",
    "purchase_total": {{order.totalPriceSet.shopMoney.amount}},
    "shipping_cost": {{order.totalShippingPriceSet.shopMoney.amount}},
    "order_tags": [
      {% for tags_item in order.tags %}
        "{{tags_item}}"{% unless forloop.last %},{% endunless %}
      {% endfor %}
    ]
  }
]
Note
- This example maps to the default Shopify fields. You may need to customize the variables for your instance.
- This body will return errors if the Shopify
lineItemsarray is empty.productsis a required field of the Orders API.
API Key and Data-Client-ID
Get your API Key and Data-Client-ID here
Testing? Use:
- Authorization:
None- Data-Client-ID:
test- Content-Type:
application/json
- Click the Apply changes button in the top right of the page
- In the modal, click Apply
- Exit the editor and trigger the workflow to test that the workflow successfully runs
- You can find the log in Recent runs
- Having trouble? Reach out to our team for help.
Customizing for your configuration
This guide covers the first and final steps of using Shopify Flow and the Orders API to send data to Northbeam. The workflow above sends every order to the same Northbeam dashboard. In order to use this for your use-case, you'll need to customize intermediate steps to conditionally sort orders to map to different Northbeam dashboards.
Examples:
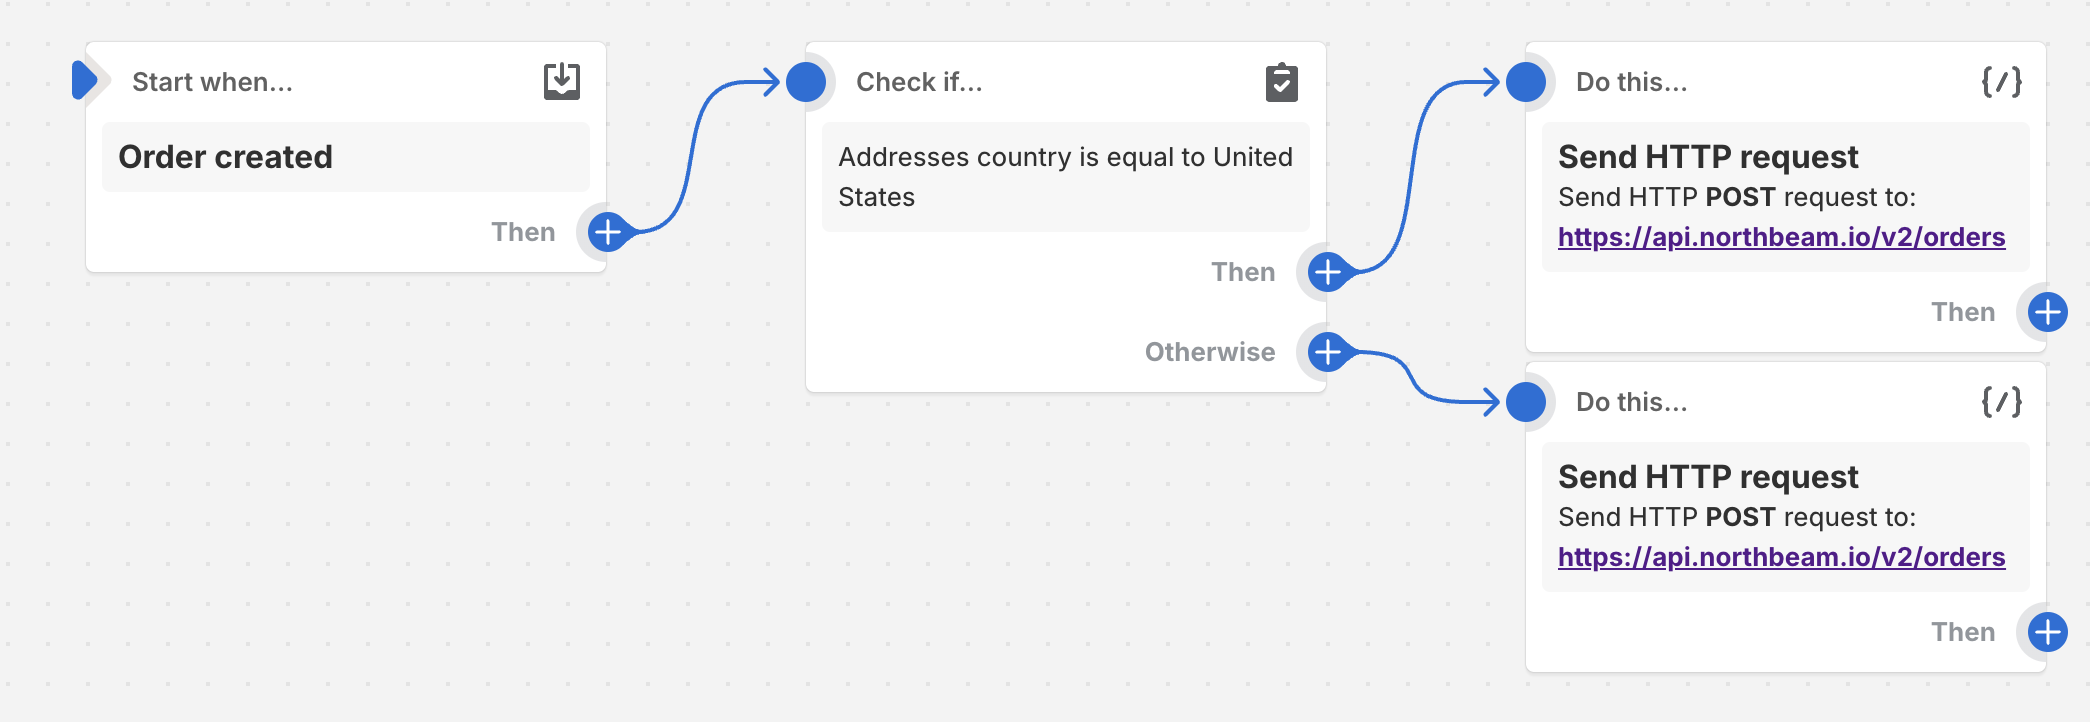
Split US and International Orders
To send US and International orders data to different dashboards, add a Condition to check if the customer address country is equal to the United States. If true, then trigger the Orders API for the US dashboard. Otherwise, trigger the Orders API for the International dashboard.
Updated 2 months ago