Step 1: Connect your Neon Pixel account
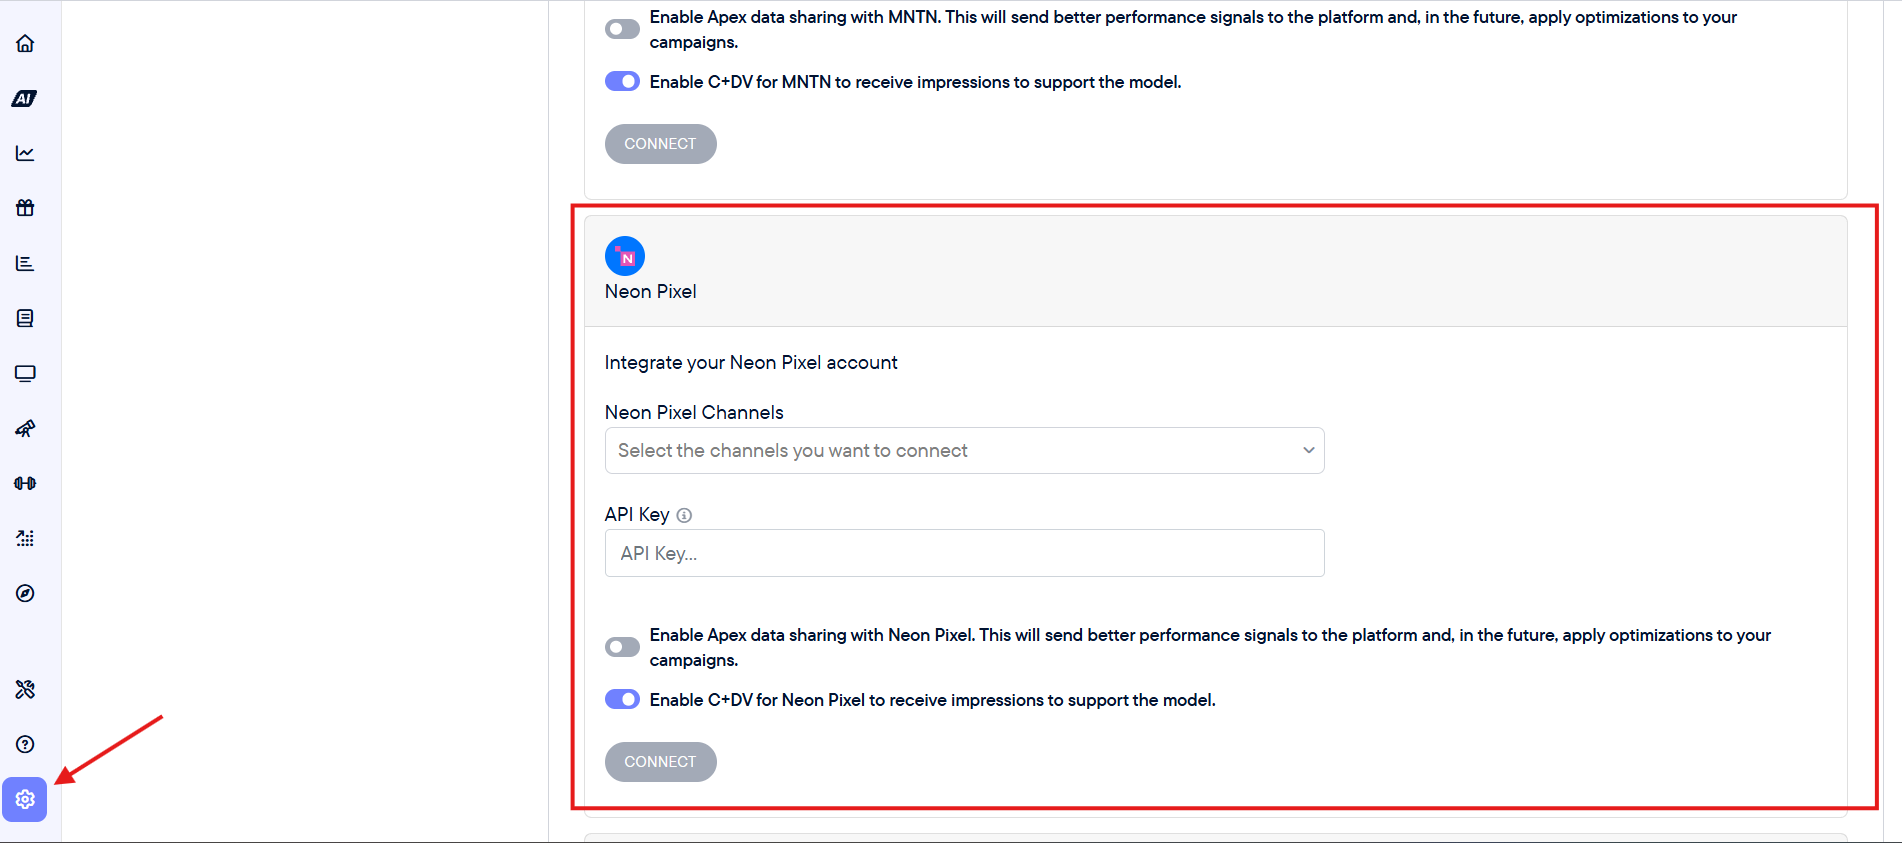
- In Northbeam, go to Settings > Connections.
- Find Neon Pixel and click Connect.
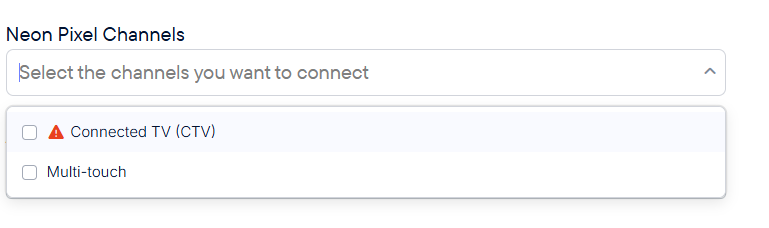
- Under Neon Pixel Channels, select the channel or channels provided by your Neon Pixel representative. The example below uses Multi-touch.
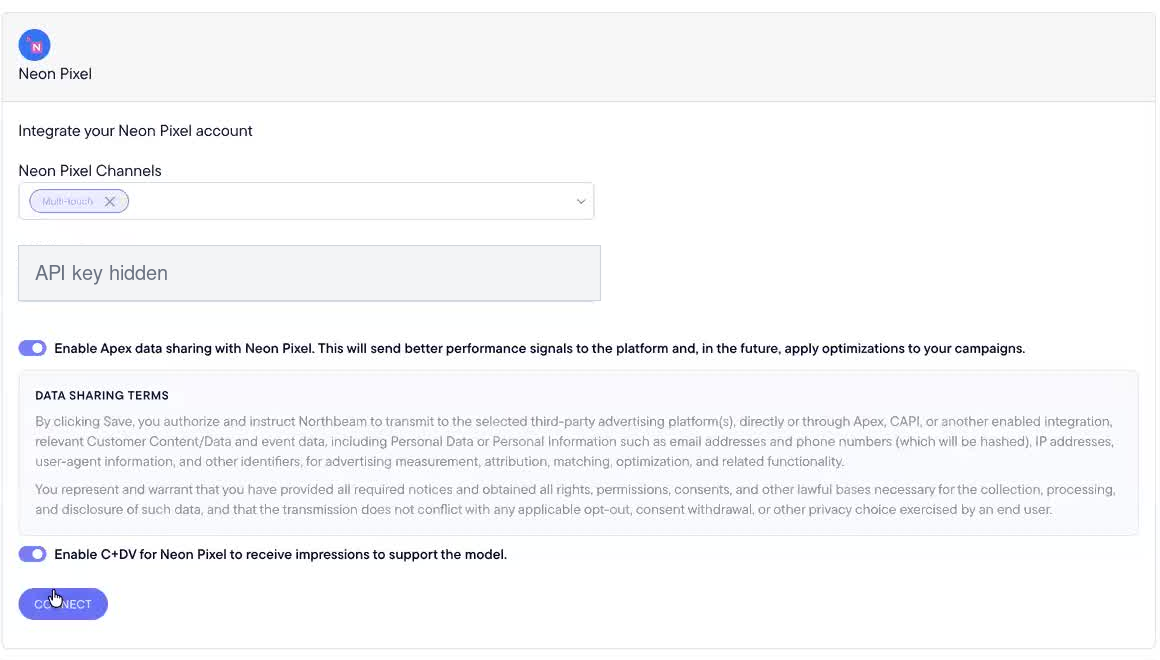
- Paste your Neon Pixel API key into the API Key field.
- Optional: Enable Apex data sharing if you want Northbeam to send performance signals to Neon Pixel.
- Review the data sharing terms.
- Enable Clicks + Deterministic Views so Northbeam can receive impressions for this attribution model.
- Click Connect.
Step 2: Finalize impression data setup
After the account connects, Northbeam displays a Finalize Neon Pixel impression setup message.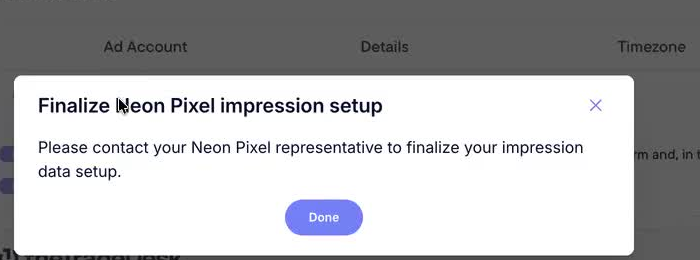
- Click Done to close the message.
- Contact your Neon Pixel representative and ask them to finalize your impression data setup.
Step 3: Enable Clicks + Deterministic Views
- In Northbeam, go to Settings > Model Settings.
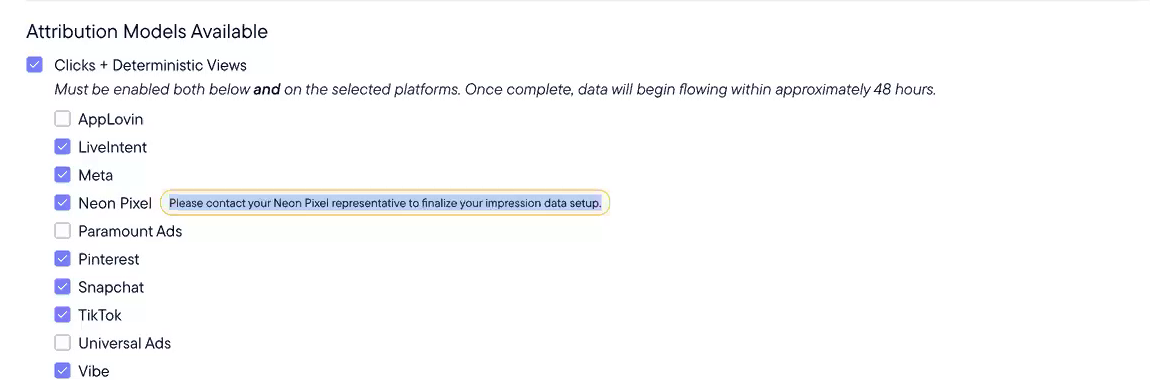
- Enable Clicks + Deterministic Views under Attribution Models Available.
- In the platform list below the model, select Neon Pixel.
- Save your changes if prompted.