Shopify Installation
Add the Northbeam pixels and events to your Shopify storefront
To start collecting marketing and behavioral data in Northbeam, you’ll need to install a few scripts on your Shopify store.
Here's how each one works and where to install it.
🧠 Core Scripts Overview
Event / Pixel | Description | How to Install |
|---|---|---|
Northbeam Pixel | Collects behavioral information about your website visitors – including their marketing touchpoints and pages they’ve visited. This is a prerequiste for all event tracking in Northbeam. | Theme.liquid |
Metadata Script | Stores the visitor’s region and currency in localStorage. (Currently only used for "Multi-Region" dashboards, but should be inserted on all Shopify stores to support future global features.) | Theme.liquid |
Customer Event | Tracks completed purchases that occur on Shopify's checkout. Triggered by Shopify's checkout_completed standard event. | Customer Events |
Post Purchase Upsell | Tracks upsell purchases that happen after Shopify checkout. (This is optional. This is only required if your store has a Post-Purchase Checkout.) | Checkout Settings |
Northbeam Pixel
The Northbeam Pixel collects behavioral data from your website visitors, including their marketing touchpoints and pageviews.
This script is a prerequisite for all event tracking in Northbeam and must fire on every page of your site.
Step 1: Find the Northbeam Pixel script
- In the Onboarding Flow:
- Navigate to Step 7: Add Pixel
- Find the script called Northbeam Pixel
- In the Dashboard:
- Click on Settings
- Click on Northbeam Pixel and Event Tracking
- Find the script called Northbeam Pixel
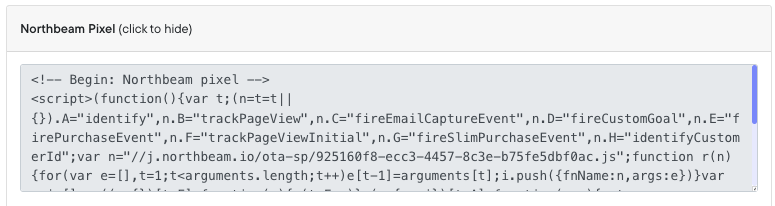
Northbeam Pixel
Step 2: Insert the script in theme.liquid
- Log into Shopify
- Navigate to Online Store and click on Themes
- Click the three dots (⋮) and click Edit Code
- In the left-hand sidebar, open the Layout folder and click on theme.liquid
- Paste the entire Northbeam Pixel script within the
<head>section of the file.- Ideally, place it near the top, just after
<head>opens, to ensure it loads immediately
- Ideally, place it near the top, just after
- Click Save
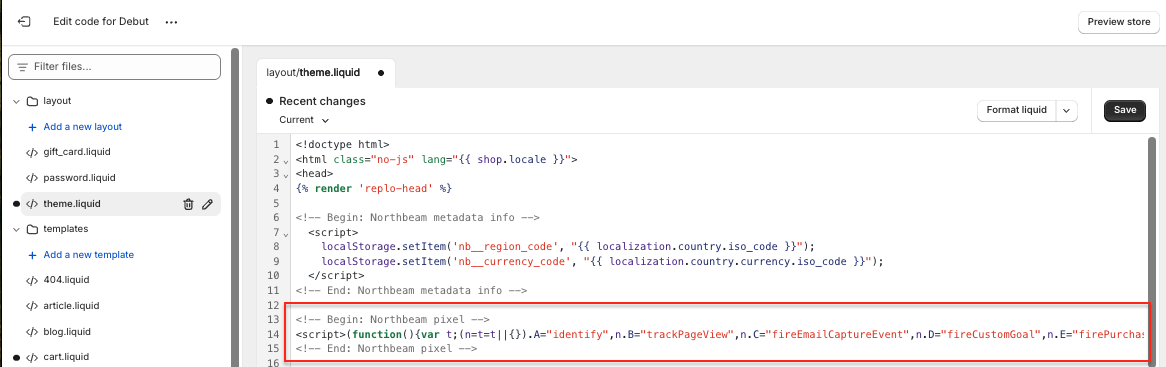
Online Store > Themes > Edit Code > theme.liquid
Metadata Script
This script stores the visitor’s region and currency in localStorage using Shopify’s localization object.
While it’s currently only used for Multi-Region dashboards, we recommend all Shopify stores add it now to ensure compatibility with future global features and reporting capabilities.
Step 1: Find the Metadata Script
- In the Onboarding Flow:
- Navigate to Step 7: Add Pixel
- Find the script called Shopify: Northbeam Base Pixel Metadata Script
- In the Dashboard:
- Click on Settings
- Click on Northbeam Pixel and Event Tracking
- Find the script called Shopify: Northbeam Base Pixel Metadata Script
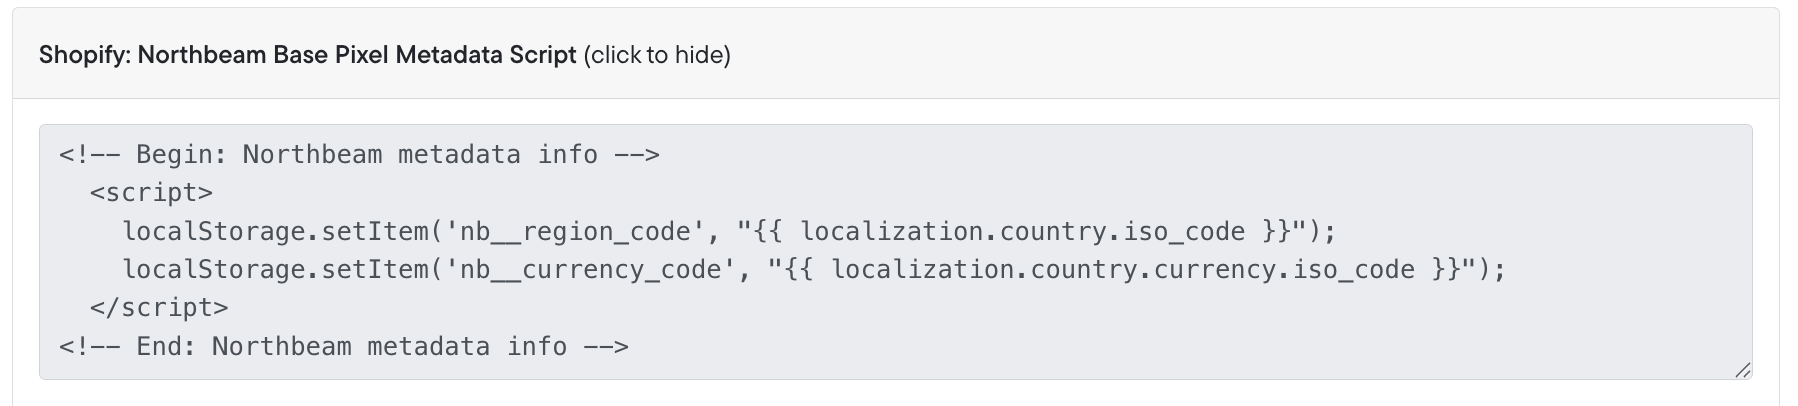
Metadata Script
Step 2: Insert the script in theme.liquid
- Log into Shopify
- Navigate to Online Store and click on Themes
- Click the three dots (⋮) and click Edit Code
- In the left-hand sidebar, open the Layout folder and click on theme.liquid
- Paste the entire Metadata Script in
<head>section, above the Northbeam Pixel - Click Save

Online Store > Themes > Edit Code > theme.liquid
Customer Event
This script tracks completed purchases from your Shopify Checkout. This is required for tracking Purchases in Northbeam.
Step 1: Find the Customer Events script
- In the Onboarding Flow:
- Navigate to Step 7: Add Pixel
- Find the script called Shopify: Customer Events
- In the Dashboard:
- Click on Settings
- Click on Northbeam Pixel and Event Tracking
- Find the script called Shopify: Customer Events
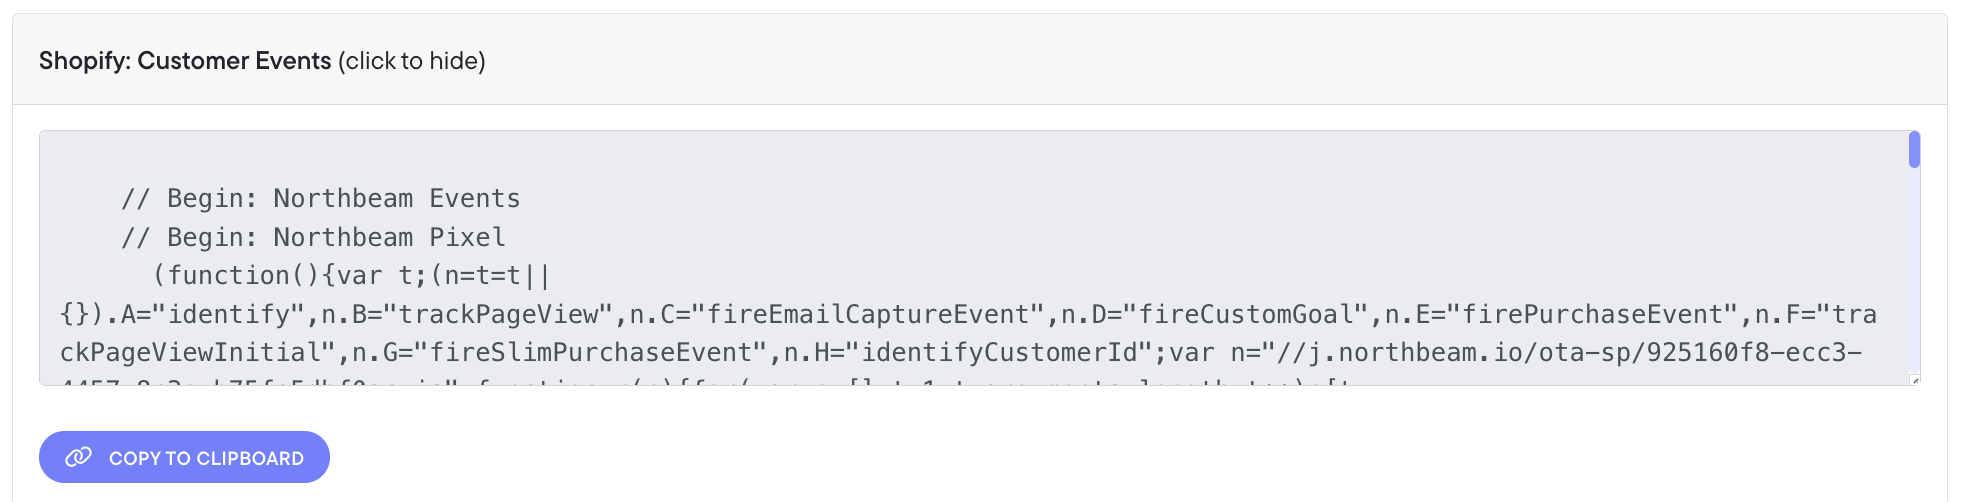
Shopify: Customer Events
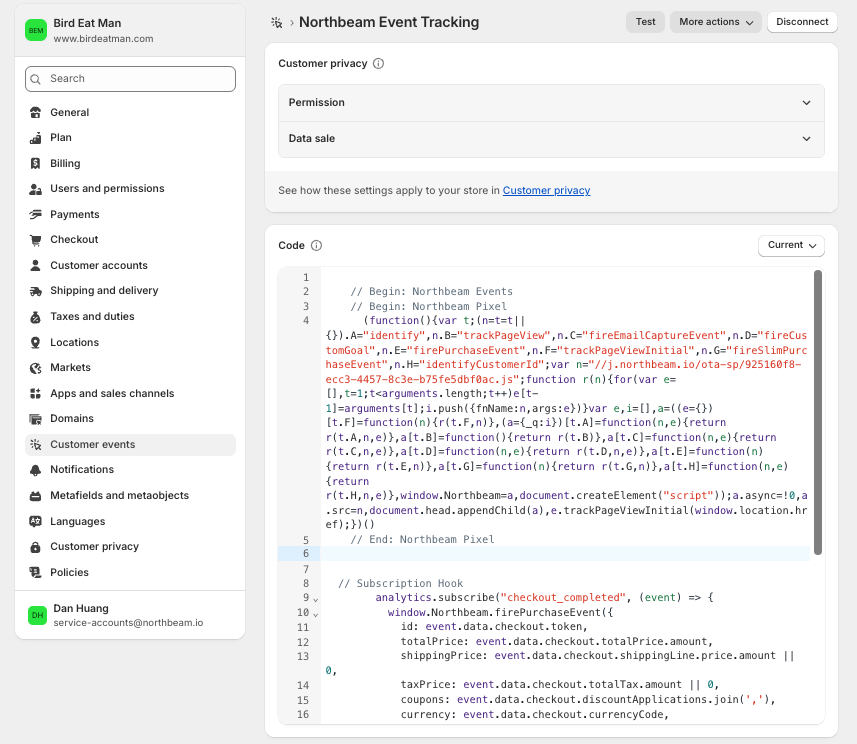
Step 2: Add the script in your Customer Events
- Log into your Shopify account, click Settings
- In the side navigation, click Customer Events
- In the top right, click Add Custom Pixel
- Name the pixel anything you'd like (e.g. "Northbeam Event Tracking”), then click Add Pixel
- Paste the script into the code editor
- In the top right corner, click Save
- Below the editor, click Connect
- In the modal, click Connect to give the pixel secure access to your online store, checkout, and order confirmation.
Step 3: Notify Northbeam
Once the script is installed, submit a support ticket to let our team know. We'll finalize setup to ensure accurate page view tracking.
Important:Failing tonotify our team may result in incorrect page view tracking.
Page view tracking is a foundational event in Northbeam's conversion tracking system—without it, purchase attribution may be incomplete or inaccurate.
Settings > Customer Events
Can I install these scripts through Google Tag Manager?Strongly NOT recommended — these need to be added through Shopify’s Customer Events.
Northbeam’s scripts are built specifically for Shopify and depend on Shopify-native variables that tagging tools like GTM or Elevar don’t have access to.
Also, splitting the scripts — for example, placing the Pixel in GTM and the firePurchaseEvent in Customer Events — can lead to failures. We can’t guarantee the Pixel will fire in time before the purchase event, which may cause tracking issues.
Keeping both the Pixel and firePurchaseEvent together in the Customer Events environment ensures everything fires in the right order and preserves data accuracy.
This is a recommendation from Google's Tag Manager Team.
Post Purchase Upsell
If you use Post-Purchase on Shopify, please follow the instructions below to add the post-purchase pixel.
Step 1: Find the Customer Events script
- In the Onboarding Flow:
- Navigate to Step 7: Add Pixel
- Find the script called Shopify: Post-Purchase Upsell Page
- In the Dashboard:
- Click on Settings
- Click on Northbeam Pixel and Event Tracking
- Find the script called Shopify: Post-Purchase Upsell Page
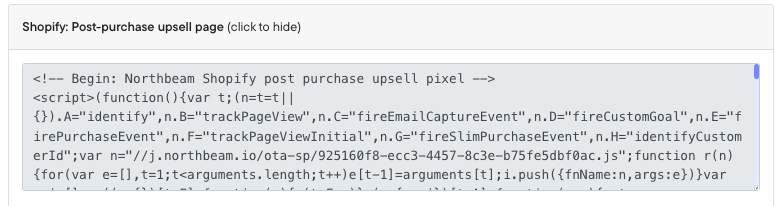
Shopify: Post-Purchase Upsell Page
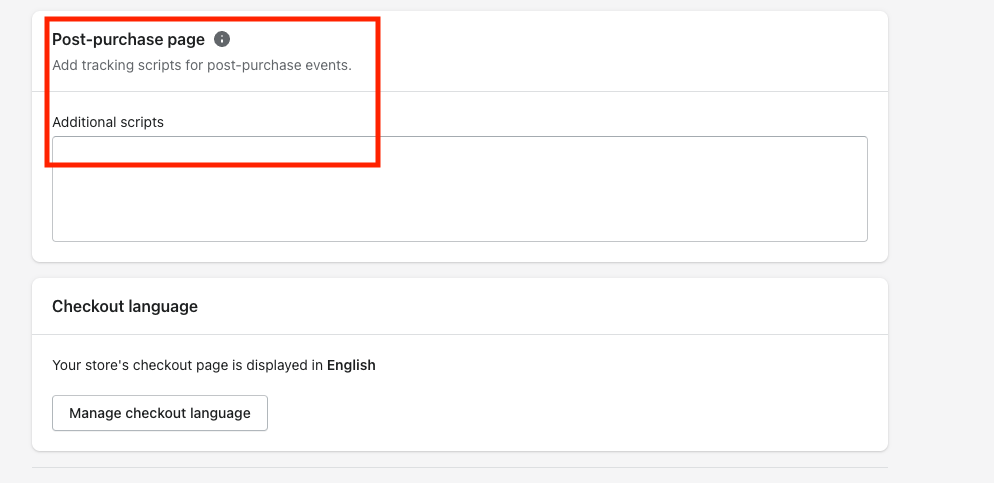
Step 2: Insert the script in your Post-Purchase Page Additional Scripts
- Log into your Shopify account, click Settings
- Click Checkout
- Scroll down to the Post-Purchase Page section and paste script under Additional Scripts
- Click Save
Settings > Checkout
Updated 7 months ago